Cloud Fusion – install cPanel on the new server.
After reviewing the previous article on preparing the server for installing cPanel, we can proceed to install the cPanel software with the useful template.
Guide
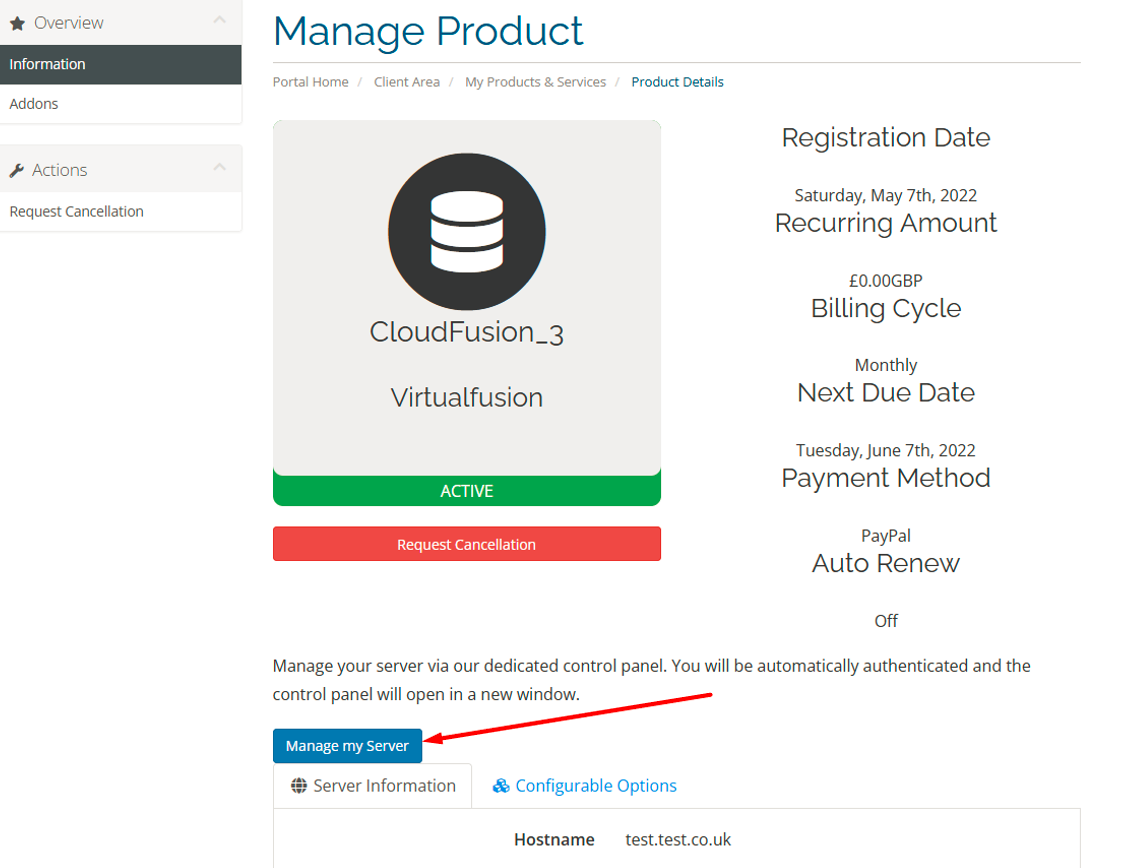
1)To install the server with cPanel software, open the new service in your Client Area>>Services and press the button “Manage my server“, the system will redirect you to Cloud server setup
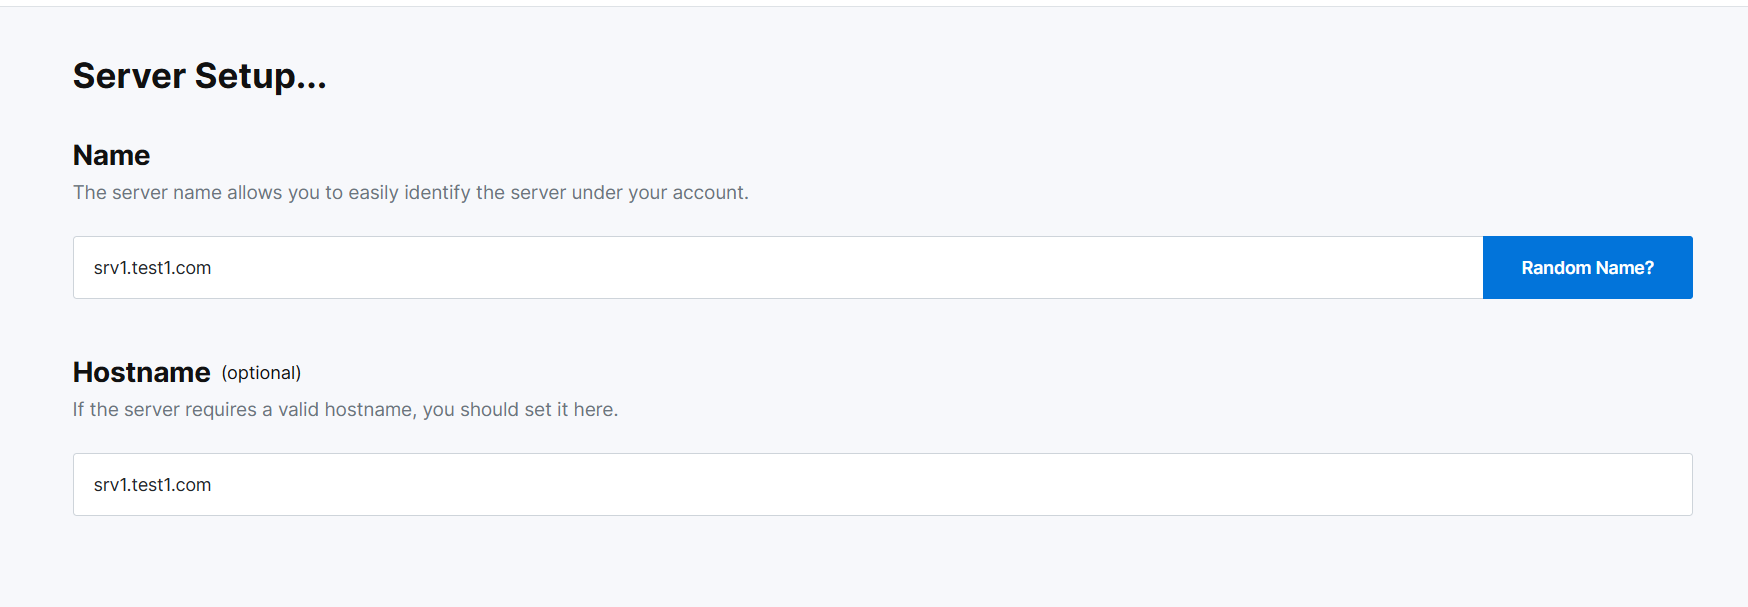
2)Create a hostname for your server
3) Select the required template for installation, depending on the need, two basic operating systems are presented (CentOS or Almalinux). You also need to pay attention that the installation contains all the necessary software but not a license for the software. That is, the cPanel license must be purchased separately, you can do it with the help of our billing department.
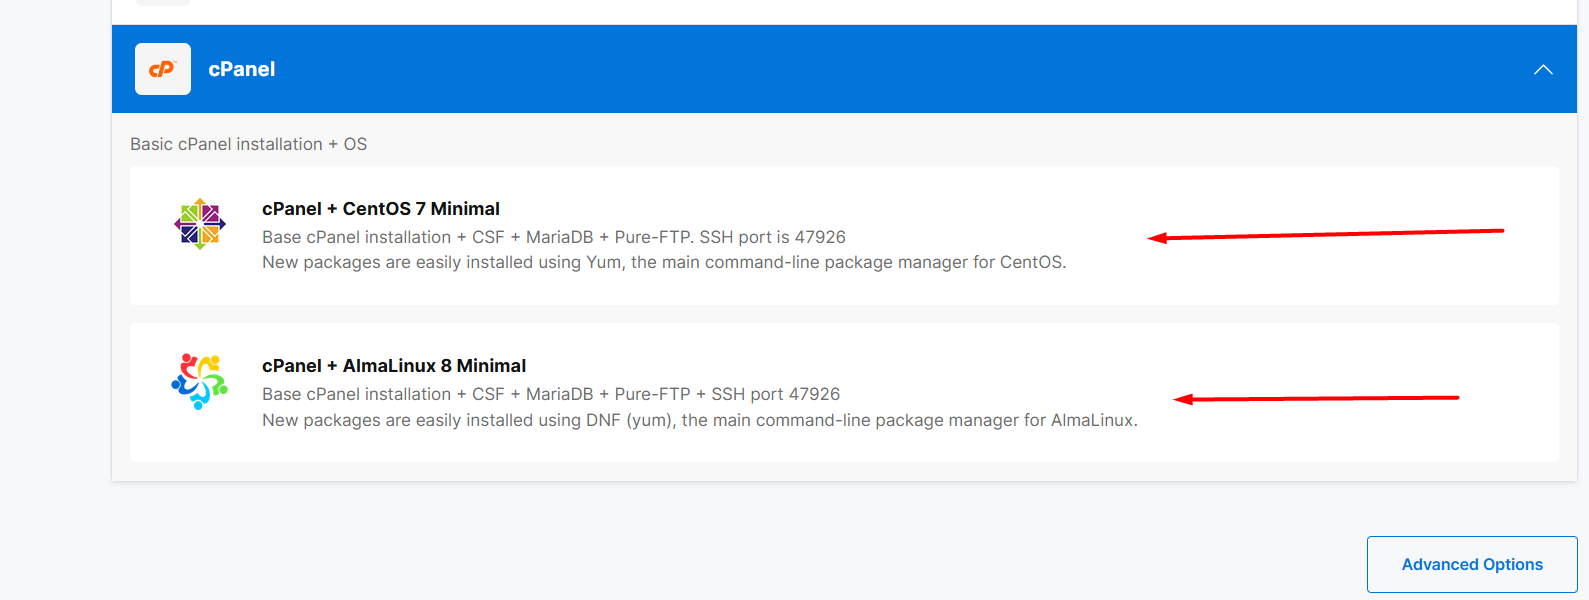
Press the button Build
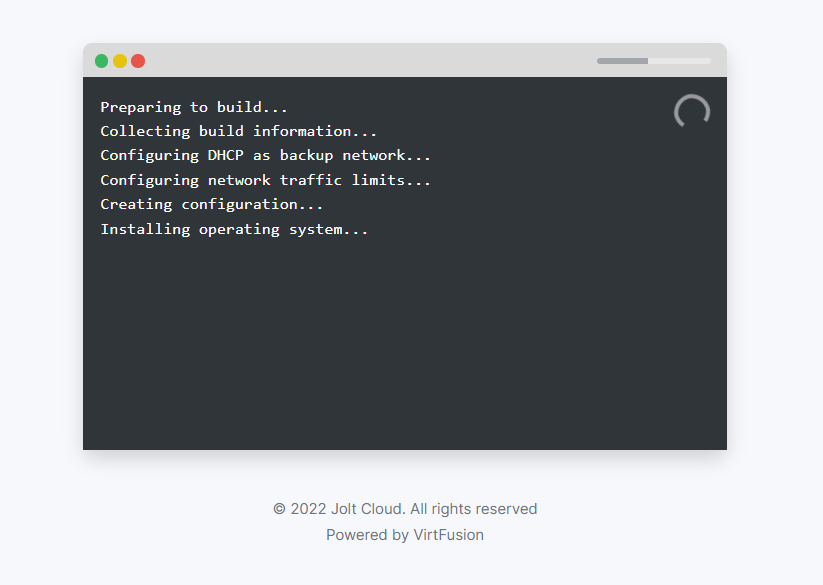
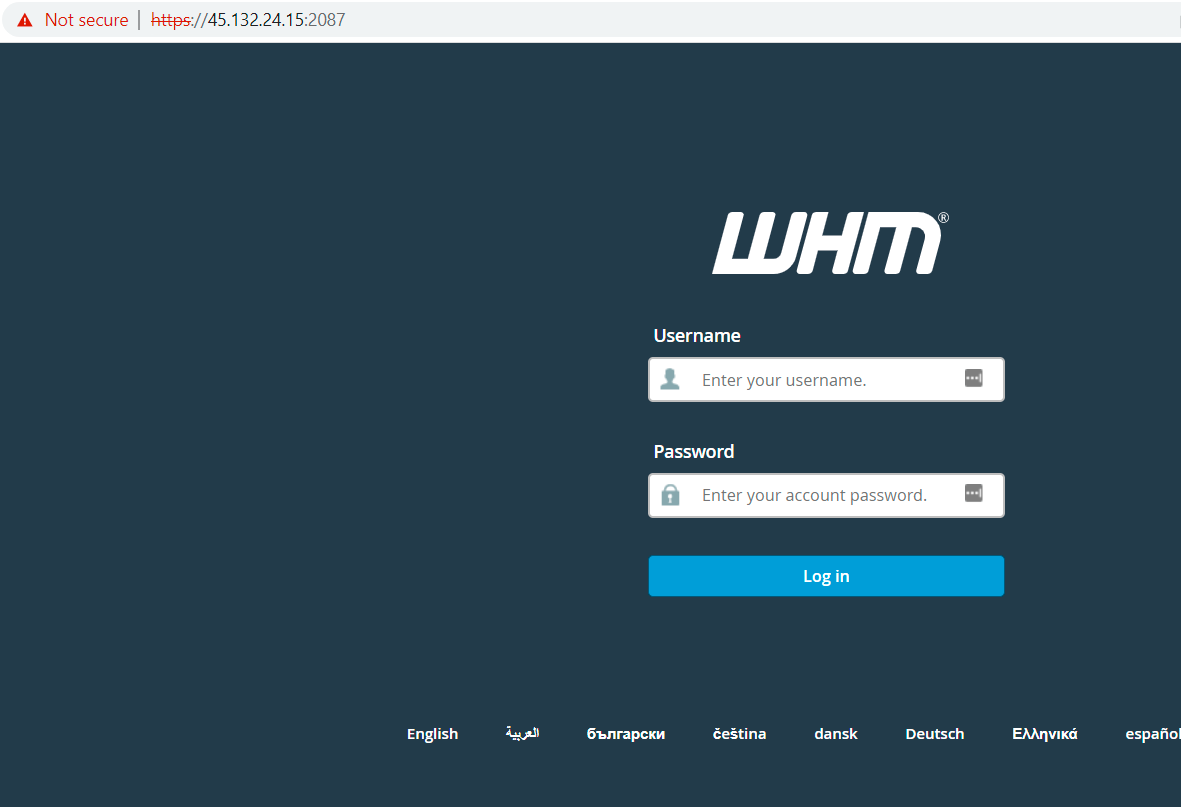
4) After 20-30 minutes, the server is completely ready for work and all that remains is to specify some DNS settings, so login to your WHM using your server IP address and port 2087 (login details to your server should have already been delivered to your contact mail):
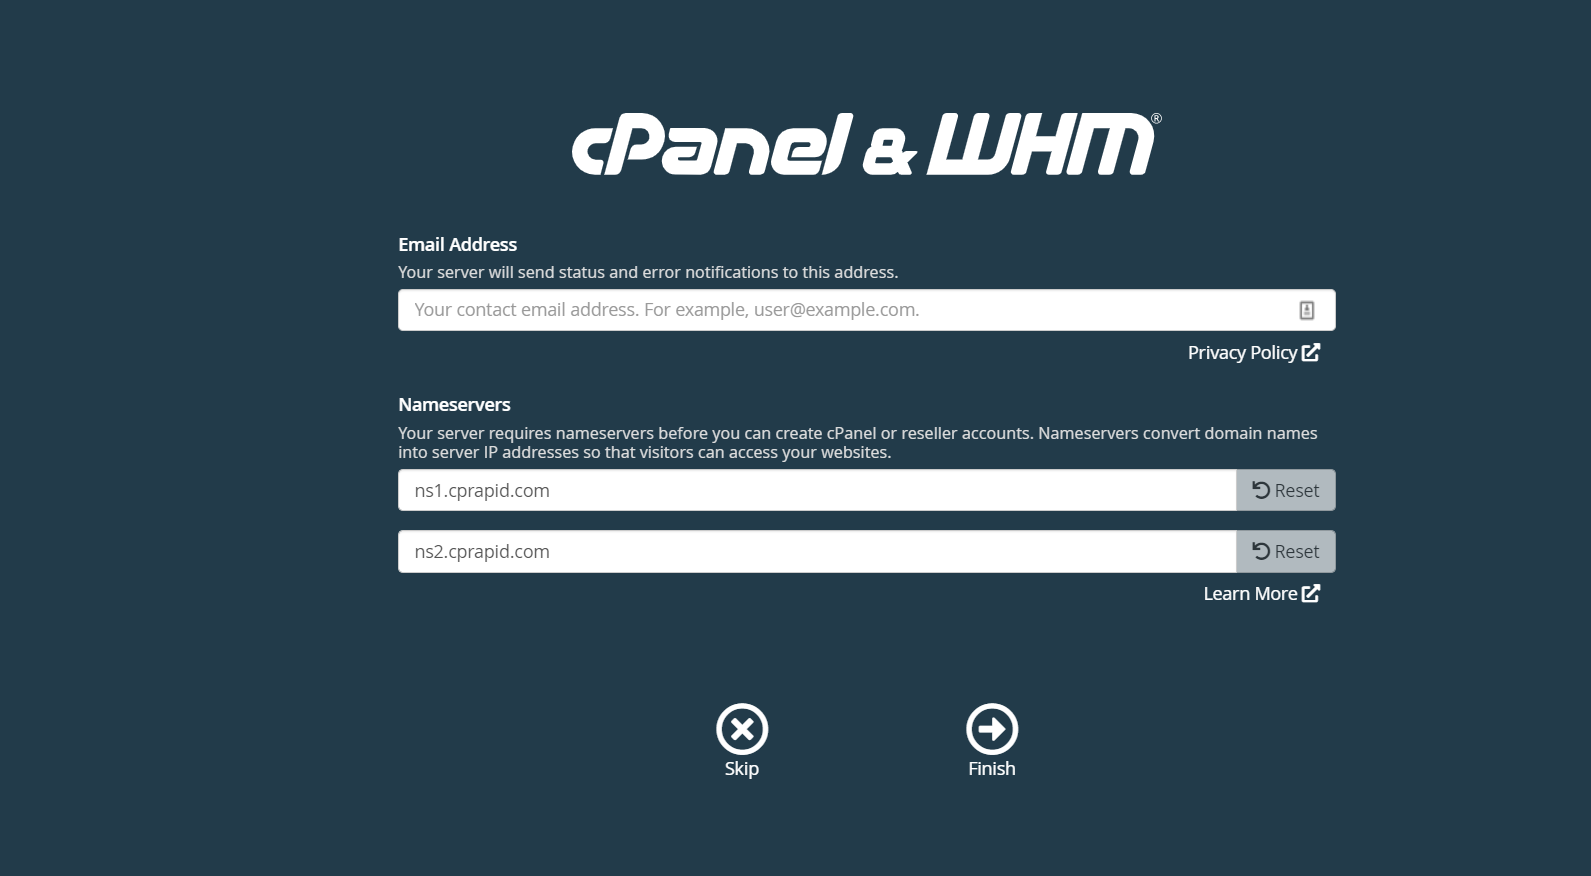
5) Fill in the contact details for notifications from the server, as well as indicate the new nameservers and click Finish.
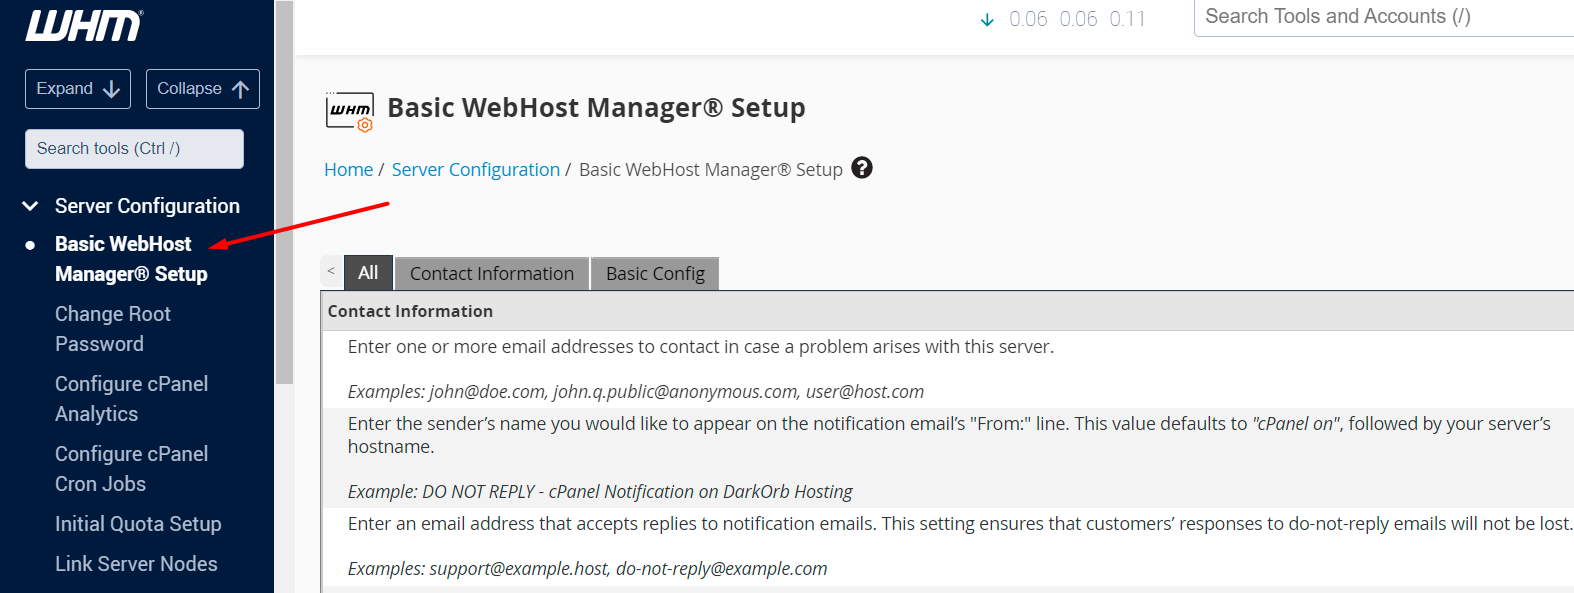
Navigate to WHM>>Basic WebHost Manager® Setup menu.
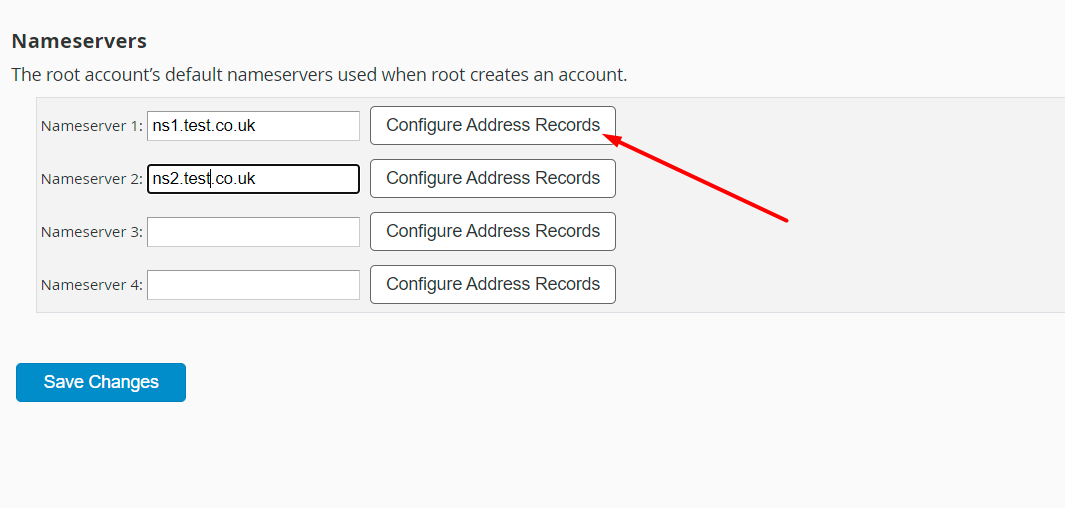
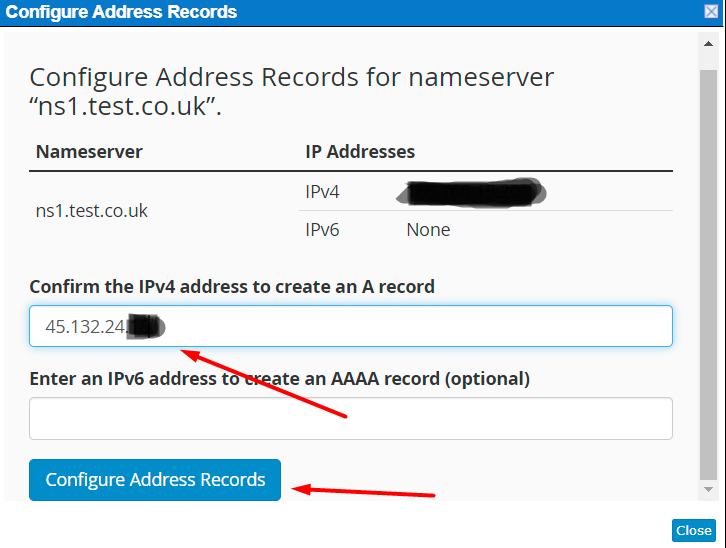
Point your server IP address for new NSs. You need to register your new NSs at your domain registrar and after that, you can use them for all your domains.
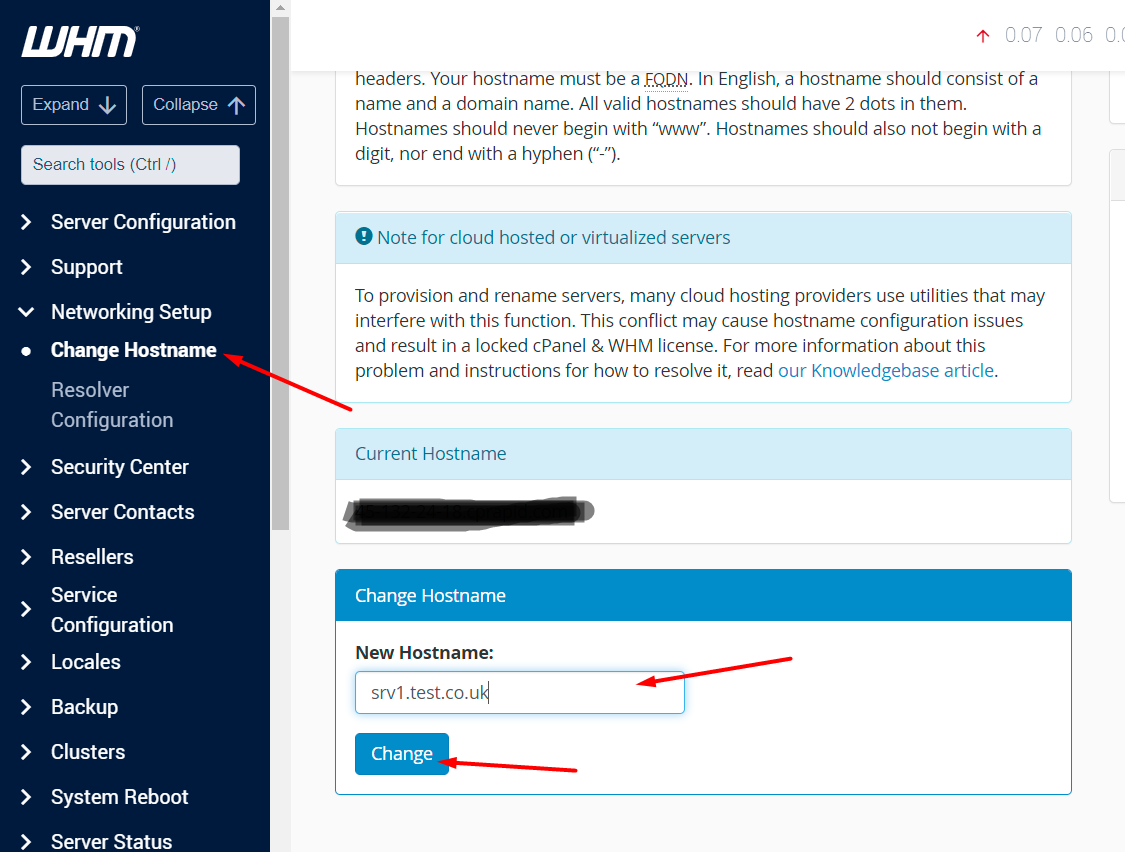
Change your current server hostname:
The server is ready to use. Further documentation on how the interface works can be found here.