Joomla Installation and Usage Guide
New to Joomla? Read the guide below to find out how to install and use this leading-edge CMS.
Background
Many developers and web hosts rank Joomla as the second-leading Content Management System next to WordPress. More than three percent of websites use this platform as CMS. Users who have little to no programming expertise can build websites using the CMS.
Joomla is more sophisticated compared to some platforms. However, the open-source management system is free with user-friendly interface and cutting-edge configuration. The creator of this CMS launched Joomla in 2005. Its scalable application allows users to build more complicated websites.
Open Source Matters Incorporated developed Joomla. This CMS was built on a model-view controller web app structure. It may be used separately as Content Management System. Joomla was written in PHP language. The platform makes use of object-oriented programming along with software design pattern. As of May 2018, Joomla’s downloads reached 93 million.
Functionality
The app creates, manages, stores, and publishes content in digital form. However, Content Management Systems are more appropriate for creating websites. Joomla is a flexible CMS compatible with practically all types of websites. WordPress is more of a blog-centric system. However, you can use both in performing the following:
- Publish articles
- Modify appearance through templates
- Expand functionality using extensions
Users can download and install Joomla for free. Or, use the Joomla Launch service (also free of charge) in creating websites without hosting.
Remember the ideal CMS platform depends on the type of website, user’s choices, and skills. Joomla is technically intricate but flexible. You can utilise the Joomla Framework for building the following:
- Multifaceted Business Directories
- Reservations and Inventory Control systems
- Tools for Data Reporting
Getting Started
Installation
Use this CMS to create your free website within a few minutes. Consider some limitations. The site requires manual renewal every month. Otherwise, it will go offline. You can opt for self-hosting through manual installation. Follow these steps:
- Create a Structured Query Language (SQL) for your website.

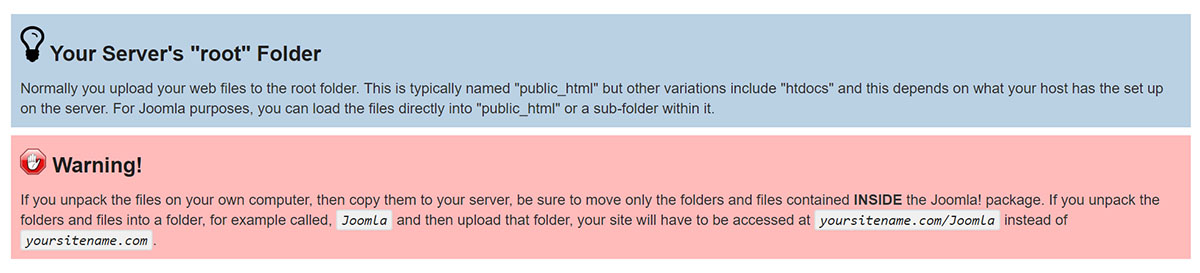
- Upload Joomla. Files will go to the website’s root directory.
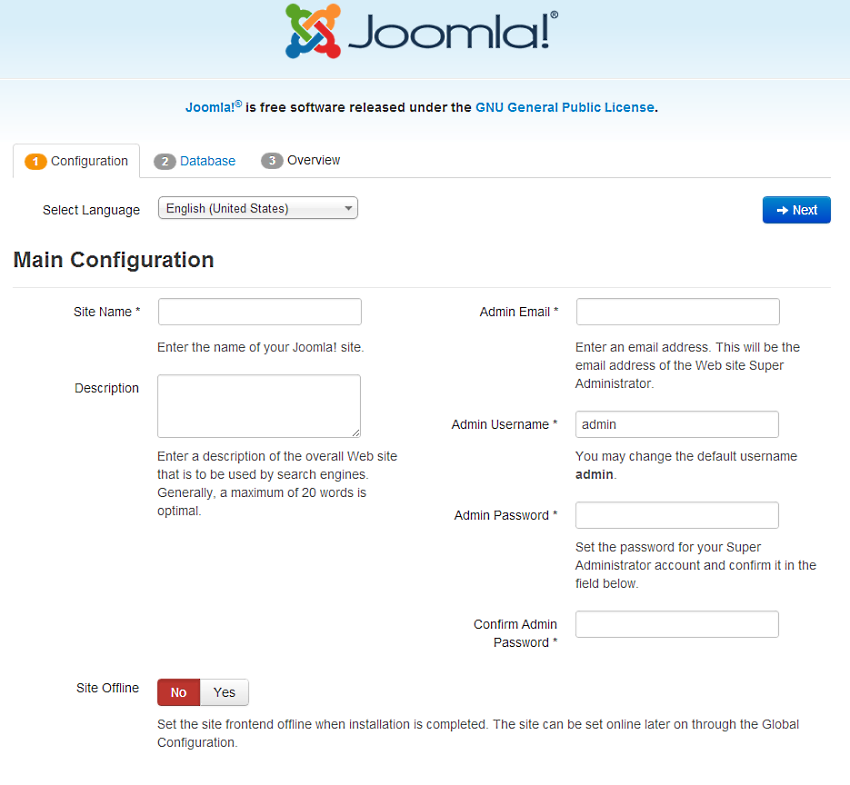
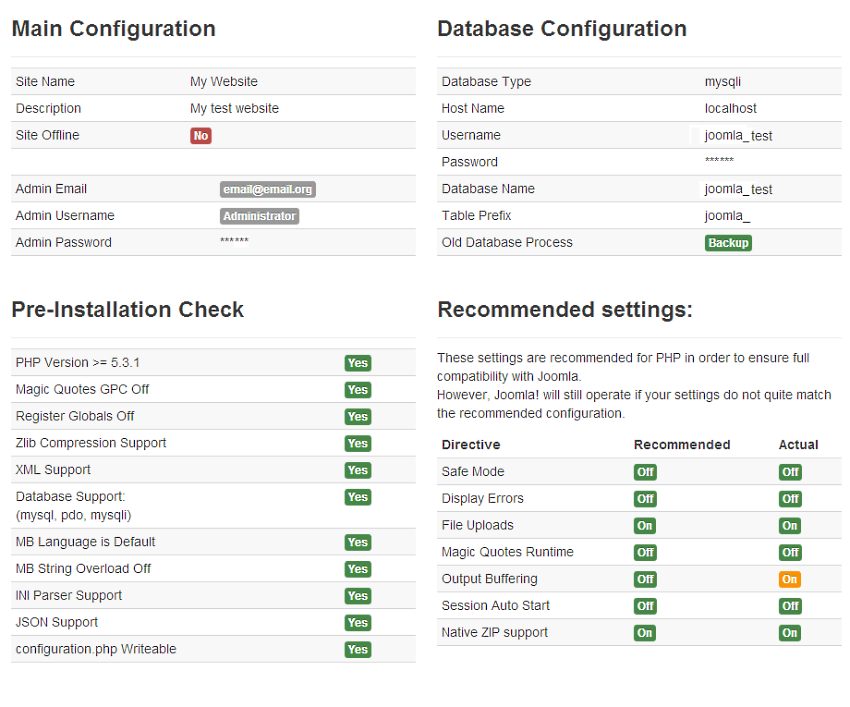
- Run Joomla’s configuration wizard through your website’s Uniform Resource Locator.
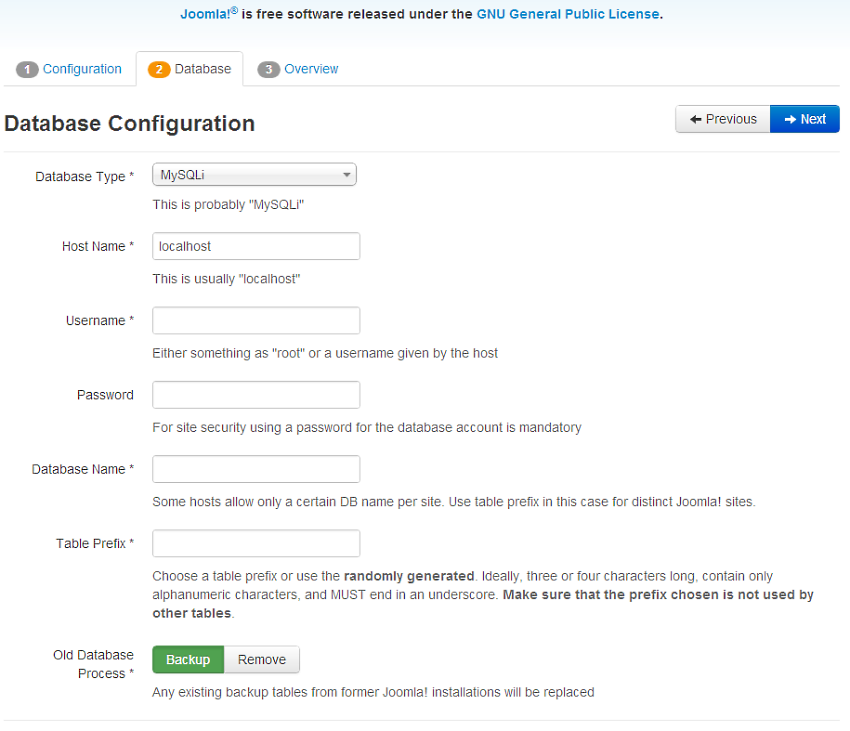
- Configure your database.
- Install the sample data.
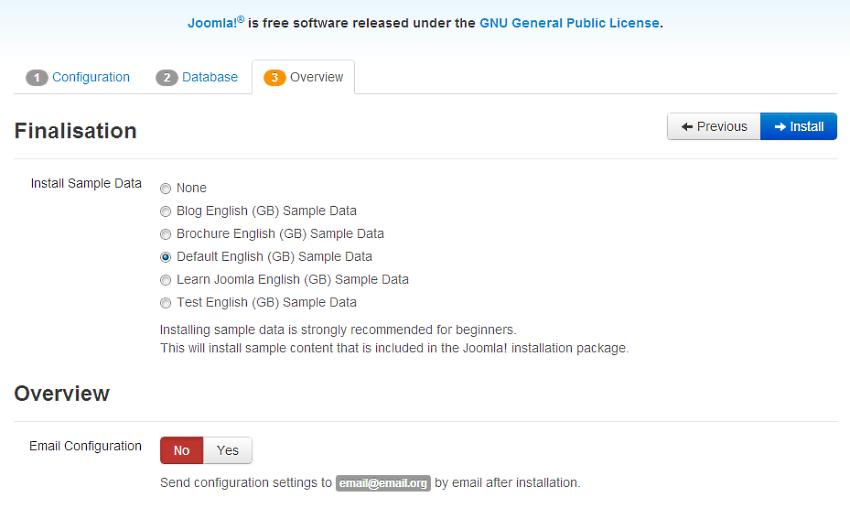
- Configure your email.
Said process suits developers who want involvement during the installation process. Use the One-Click Install option for straightforward startup with Joomla.
- See to it you log in first to your control panel.
- Navigate to Domains>One-Click Installs in the left-hand menu. It will open a page that allows you to view all one-click options.
- Click on the Joomla It will open a window that contains additional information about the application.
- You will find several fields to configure your new website at the bottom of the window.
- At this point, choose any of the existing domains that you want to use. Select a subdirectory. Choose the database. You have a choice to use the existing database or build a new databank for the site.
- Click on Install it for me now after making your selection. This step will create your new site.
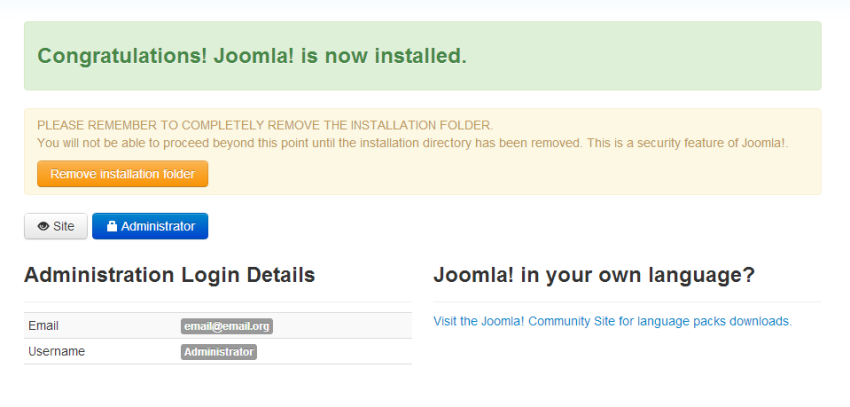
- The app gets installed after a few minutes.
- Users will receive an email notification with instructions on logging in to your new website.
- Complete your configuration wizard.
Content Creation
Creating content comes next after installation.
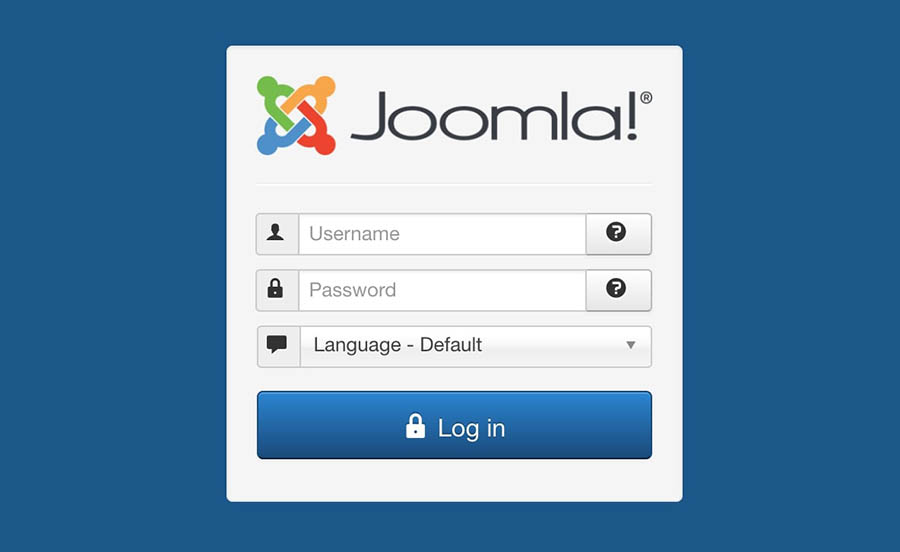
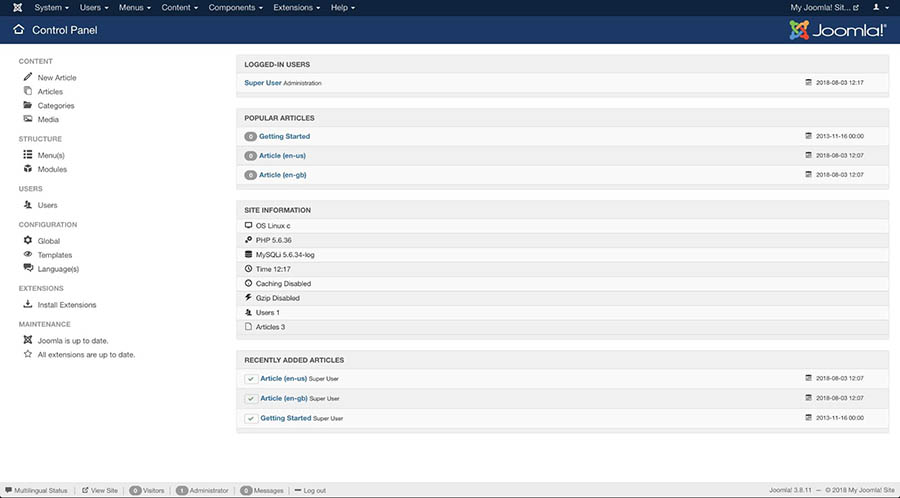
- Log in using your admin details. This will take you to your new website’s control panel. The control panel contains numerous options. Check the official documentation with regards to the interface. Concentrate on the essential functions.
- Click on the New Article found in the Content menu. You can see this on the left-hand corner of your screen. It will bring you to the Joomla TinyMCE-based HTML Editor for writing articles.
TinyMCE refers to an online advanced text editor distributed as open-source software under the GMU Lesser General Public License. It converts Hypertext Markup Language text area fields or other related elements. This editor integrates easily with JavaScript libraries, Joomla, and WordPress.
- You may write content at the main window. Find and use the Options menu above this window in formatting text or adding new elements. The row of links will bring you to the article’s additional options. For instance, use the Images and Linkstab in setting a main image for the article. You may also add some links.
- It is possible to explore multiple tabs and refer to the Joomla documentationfor assistance if required. Majority of options are self-explanatory. You will find the editor easy to use after trying several articles. Save and publish your first article. Go back to the Content tab and view options on the right portion.
- Assign your article to a specific category with corresponding tags. Determine if it is a featured item as well as the visibility. Click on one of the Save buttons found at the top-left corner.
- Save your article. You can now see this output on your website.
Adding Extensions
Users must learn how the correct method of adding extensions. Your goal is to expand the website’s functionality. Extensions in Joomla work like the plugins of WordPress. These refer to compilations of codes installed on websites for extra features. The option enables beginners or those without experience in creating websites to understand the advanced functions.
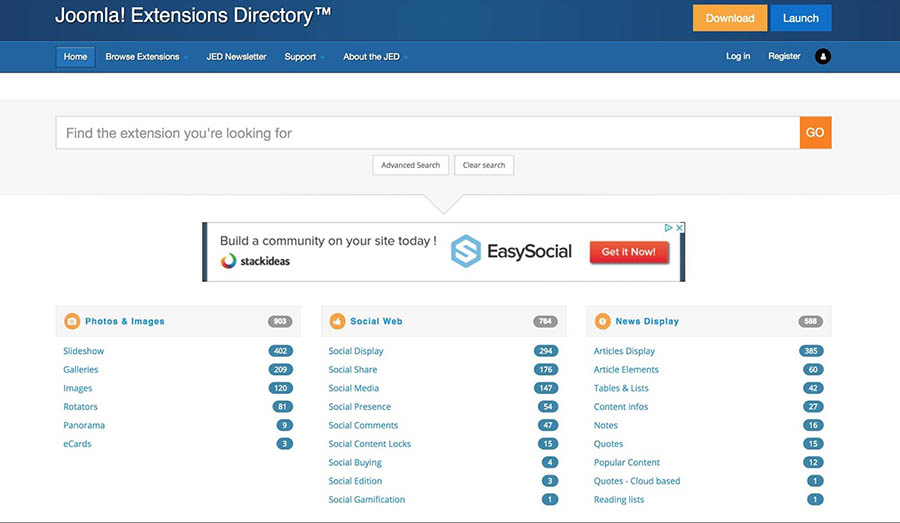
Joomla can use numerous extensions (free or premium). You can find these tools at the Extensions Directory. It is the official directory for the CMS modules, components, and plugins. Choose extensions based on purpose and category. Read the following steps:
- Click on your preferred extension to open its main page. This will present you with more information regarding that extension. It also provides links for downloading.
- Save the extension to your PC. It is now time to install the extension on your website.
- Return to the website’s control panel. Access the Install Extensions option. You will find the option in the main menu. This will bring you to the Extensions page. This is where you can possibly add and manage your extensions.
The process in installing another extension is simple. You only drag and drop the ZIP file to that page. Otherwise, choose the Or, browse for file button to locate it on your PC. Then, you can upload the extension for installation on the website. Finish the process. You will receive a success message notification together with useful information regarding the new addition. The extension is ready for configuration. You may also use it right away depending on the extension.
Changing the Website’s Appearance
Adjust the look of your website using templates. The website content is essential. The outside appearance is equally important. Many users prefer to change the new website’s generic design. Spruce up your site using the Joomla Templates. This template functions like WordPress themes. It can modify or tweak the form and layout of the website.
Like extensions, users can go for the free or paid version. It depends on your budget and requirements. Recommended sites include Rocket Themes and Theme Forest.
- You can find and download a new template from the external website. More creative users choose to create their own designs.
- If you have the ZIP file, access the Extensions screen.
- Install a new template that looks like an extension. Drag the template’s ZIP file to the screen. Another way is to search for the template on your PC. After installation, you will receive a notification message which informs you of the successful addition.
You must assign the new template to your website prior to use. One upside of this CMS is it enables users to perform advanced tasks with the templates. For example, you may use not just one but several of them on your website. You cannot do this with the WordPress system. Yet, its wise stick to the fundamentals if you are not familiar with advanced techniques.
- Click on Templates in your control panel menu before you can add and assign a new template.
- This step will open the Template Manager. Now, you can view all installed templates.
- To set one as your default template, choose the select button with the start mark next to its label.
- You can now view the website in action after completing that step.
A Quick Review
You have just learned the essentials in managing a Joomla! Website. To recap, Joomla is a Content Management System that is user-friendly even for non-technical persons. Joomla is a robust website management system. The CMS helps the neophyte user to get started without any difficulty. You have a variety of options for scaling and expanding the website.
Joomla offers more than 70 languages. Access Control Lists facilitate easy management for users and various groups with hassle-free menu management. The CMS would be good choice if you are not inclined to opt for WordPress.