Guide for Installing WHMCS

Study this guide for installing WHMCS.
First, create a database for WHMCS and the database user through cPanel>MySQL databases. Then, upload the WHMCS to your website.
- Download the installation package from the Downloads section in the Client Area.
- Upload it to the WHMCS subdomain of your site with the FTP client software.
Note: Make sure that the FTP client is set to passive mode. Additionally, the number of simultaneous connections should be set to 2.
- Unpacl the archive in cPanel Manager with the ‘Extract’ button.
- Start installation. Proceed to yourdomain.com/whmcs/install/install.php and change permissions for the files prior to installation.
| /configuration.php | CHMOD 777 Writeable |
| /attachments | CHMOD 777 Writeable |
| /downloads | CHMOD 777 Writeable |
| /templates_c | CHMOD 777 Writeable |
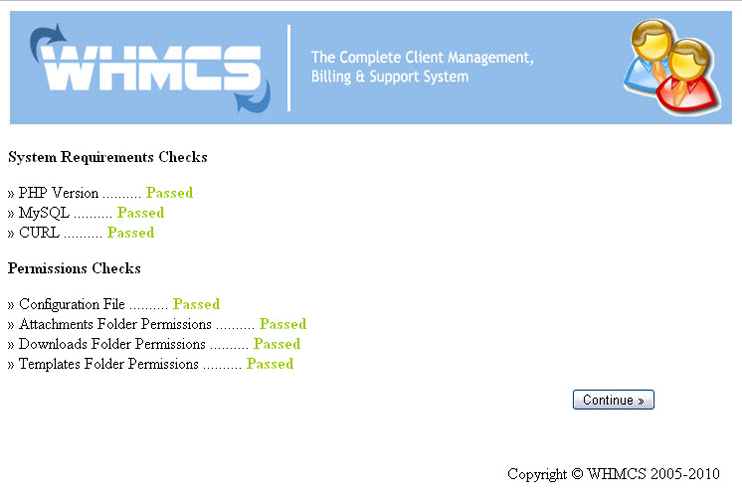
Remember to rename configuration.php.new to configuration.php. You will see the installation requirements with permissions with checks indicating ‘Passed’ after the license agreement.
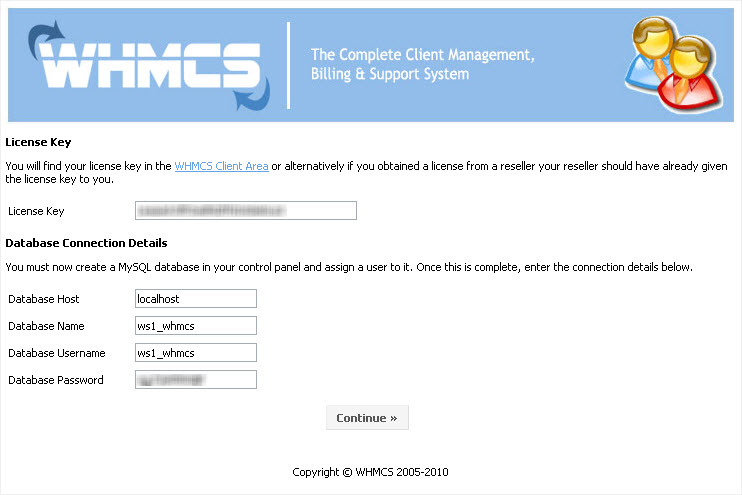
Include the license key and configure the database connection.
The key must have the format: Leased-xxxxxxxxxxxxxxxxxxxx
Use database (user/password) previously created set as localhost.
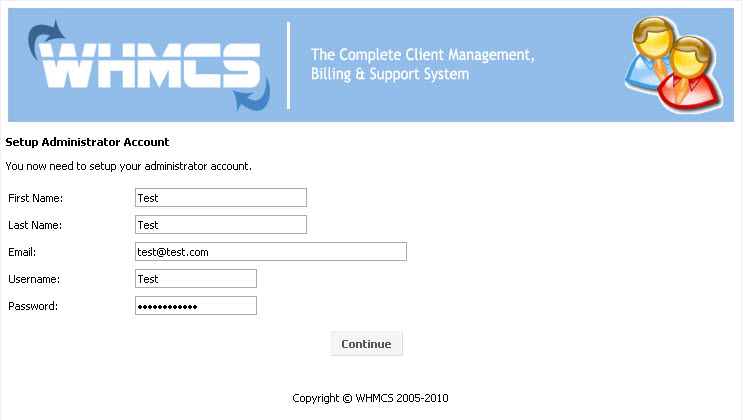
The last page will be the administrator account.
Delete ‘Install’ folder from the web server and set permissions for configuration .php file to 644 after completing installation.
Move the ‘attachments’, ‘downloads’, and ‘templates’ folders. These folders must be rewritable by WHMCS. It requires the permissions 777 (writeable by all). Notify WHMCS before moving the folders by adding these lines to the configuration.php file.
$templates_compiledir = "/home/whmcs/templates_c/";

$attachments_dir = "/home/whmcs/attachments/";

$downloads_dir = "/home/whmcs/downloads/";
Note that in the above example, “whmcs” is the cpanel username and the 3 folders are located in the home directory, above public_html.
Afterwards, set up a daily cron.job from cPanel.
Set up a cron job
The WHMCS cron job is the process that executes all the automated actions. One cron job is enough to automate all central functions of the system including invoicing, reminders, and suspensions, among others. It should be configured to run only once daily.
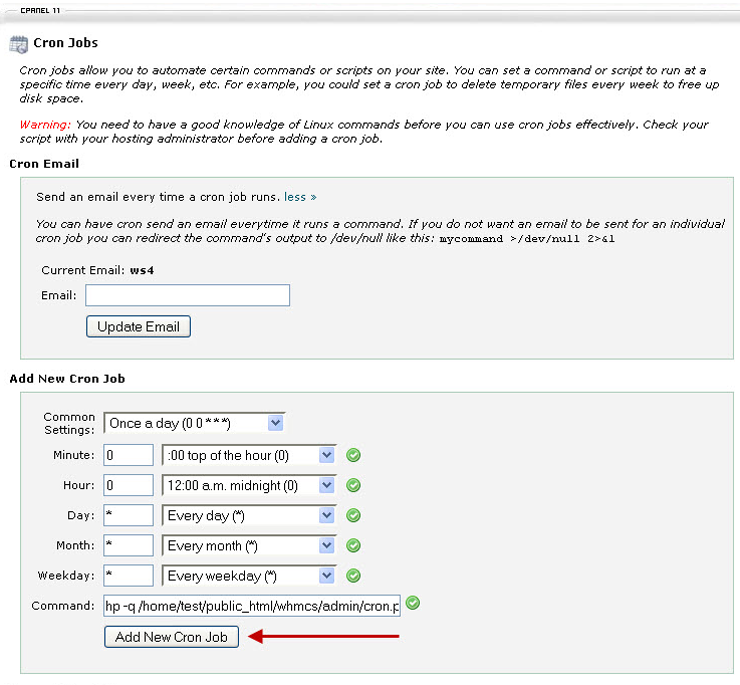
- Set cron to once/day. Paste the following line to the command field:
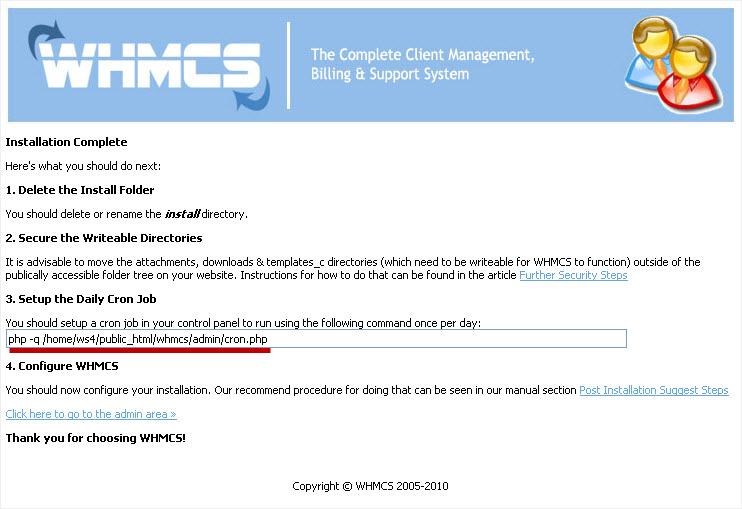
php -q /home/test/public_html/whmcs/admin/cron.php
where ‘/test/public_html/whmcs/’ functions as the path to your WHMCS folder.
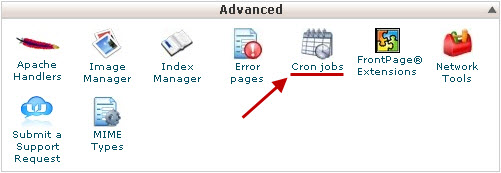
- Press ‘Add New Cron Job’. This line also appears on the Installation Complete page.
in
cPanel > Advanced > Cron Jobs
You can now access your WHMCS admin area using the link http://www.yourdomain.com/whmcs/admin.
Post-Installation
Once installation is completed, configure your new WHMCS System accordingly:
- Login to Admin Area.
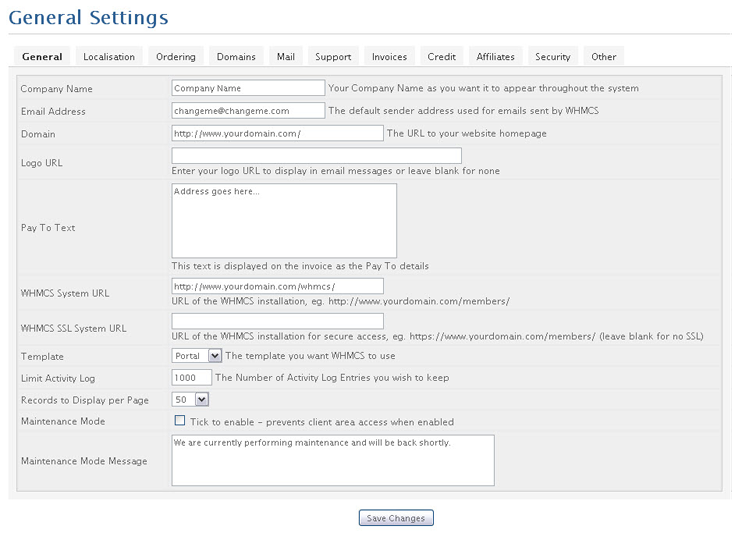
- Configure your general settings: Setup>General Settings
General Settings = Basic settings (company name, address, domain, and template) are configured here.
Descriptions of each tab are found below. Click the names for the explanation of available options:
- General – Basic settings mentioned above
- Localization – Configure country, language, and currency settings
- Ordering – Configure TOS URL (this is where user is taken to at the conclusion of the order process as well as other order-related settings)
- Domains – Configure options for domain registration and pricing for domain add-ons
- Mail – Choose method for sending mail as well as set sending preferences and default signature
- Support – Customise order ticket replies and allowed attachment types
- Invoices – Set invoicing and payment-related settings
- Credit – Enable or disable credit funding feature in client area and set limits
- Affiliates – Configure affiliate settings like payout level, bonus deposit, and default commission percentage
- Security – Modify script security settings (password strength and credit card storage)
- Other – Tab contains miscellaneous settings that do not fit under other headings
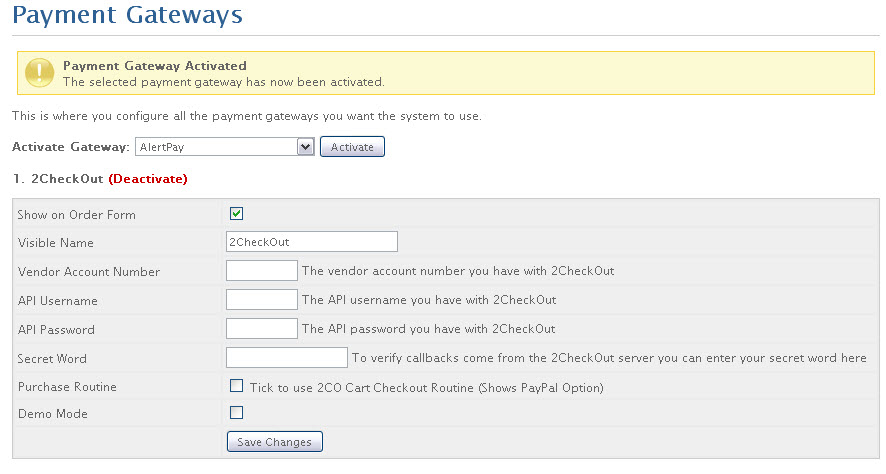
Payment Gateways Setup
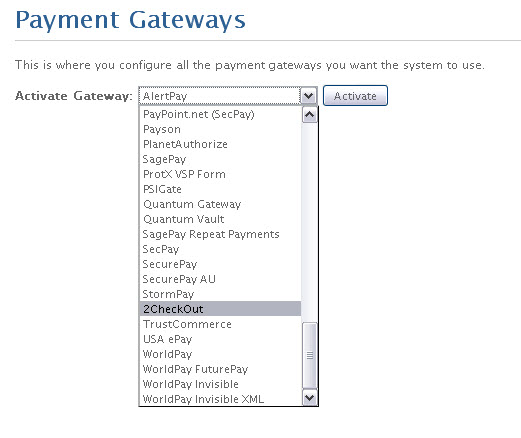
Go to Setup> Payment Gateways
Each Gateway contains specific data requirements to process transactions so they vary from one gateway to another.
All gateways have three core fields:
- Show on Order Form – Checking the box will show in the order from as an option depending on restrictions to product group gateway restrictions.
- Visible name – is used for the gateway throughout the system and to clients. Example: Gateway can be Authorize.net and Visible name may be credit card)
- Convert To For Processing – option in using several currencies. Choose a currency and WHMCS will make conversion prior to sending.
Example: If you use Google Checkout with an account in the UK but offer prices in USD and GBP, choose GBP in the ‘Convert to’ Box. It will apply rates in Config>Currencies to perform conversion. It may be set to auto update every day.
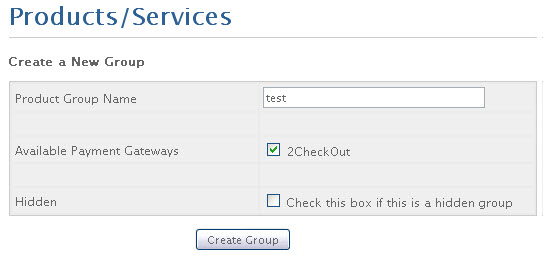
Setting Up Poducts and Services
Go to Setup>Products>Services>Options: Create a New Group
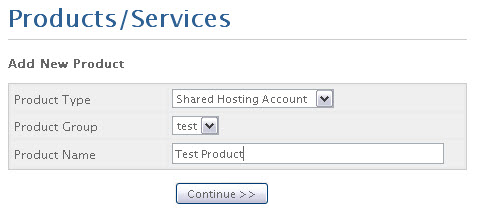
Adding Products and Services
Setup>Products/Services>Options: Create a New Product
- To add products or services to client account, use the add order process.
- Click the ‘Add Order’ link in ‘Actions’ panel of ‘Client Summary’ page.
Manage Your Client Products/Services
There are various ways to located products/services to manage:
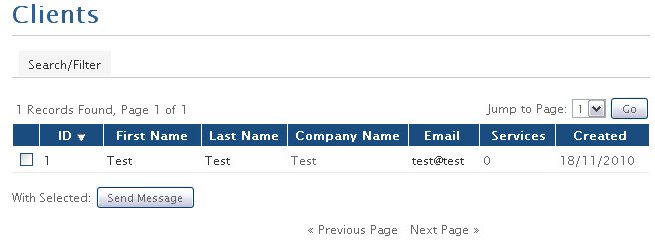
- Search for your client in Clients>View/Search Clients.
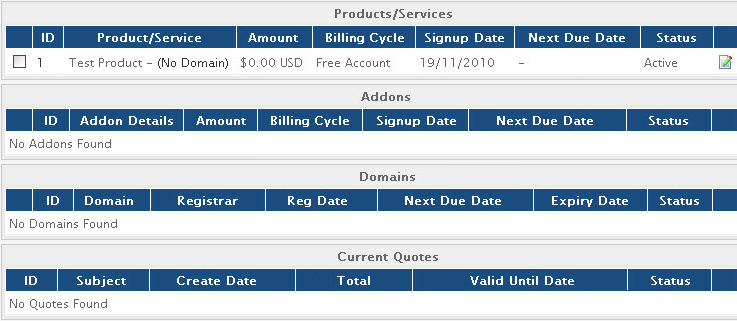
- From Client Summary Page, click the product ID of product you want to manage from this list.
- Search for product in Clients>List All Products/Services>Search/Filter.
- Click the product ID (Domain) to be brought to product details.
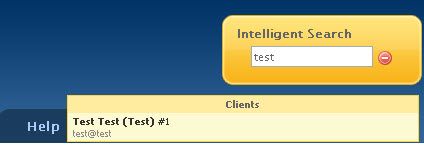
- Use Intelligent Search
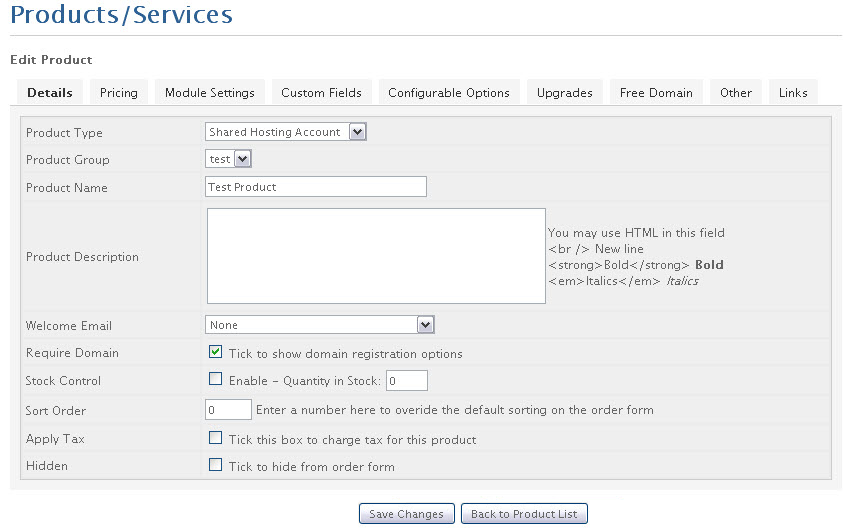
This Products/Services page in the Client Profile allows you to see and change product settings. Once changes are made, click the Save Changes button to save edits.
Registrar Configuration
- Go to Setup>Domain Registrars.
- Choose the registrar you want to configure from dropdown of available registrars.
- Enter pertinent details of your account.
The registrar that WHMCS supports contains instructions and requirements at http://www.wiki.whmcs.com/Domain_Registrars. You can set default nameservers WHMCS will use for domain registrations ordered via the system.
Watch the video tutorial at http://www.whmcs.com/tutorials.php?i=7.
We suggest Namecheap as registrar for domain registration since it provides affordable prices plus quality service. Check out (www.namecheap.com).
Once you’ve completed the steps, place test orders on your site to determine if it works properly.

