Adding Glue Records
The phrase “add glue records” refers to the registration of your private nameservers on a domain registrar end. What this essentially means is that you indicate what IP address a domain name (in our case, nameservers) stands for.
You will have the ability to use the nameservers for any of your domains as soon as they propagate.
Namecheap.com
- Log in to your NameCheap account.
- Click ‘Manage Domains’. Next, click on the domain that you wish to edit.
- Click ‘Nameserver Registration’ located on the left side menu to create your nameservers.
It’s important to note that doing this will not automatically point your domain to the registered nameservers.
In case you need to transfer your domain to this DNS, you must use Transfer DNS to Webhost (or Domain Name Server Setup), located on the left side menu, afterwards.
GoDaddy
- Go to the GoDaddy account page.
- Using your username and password, log in to your Account Manager.
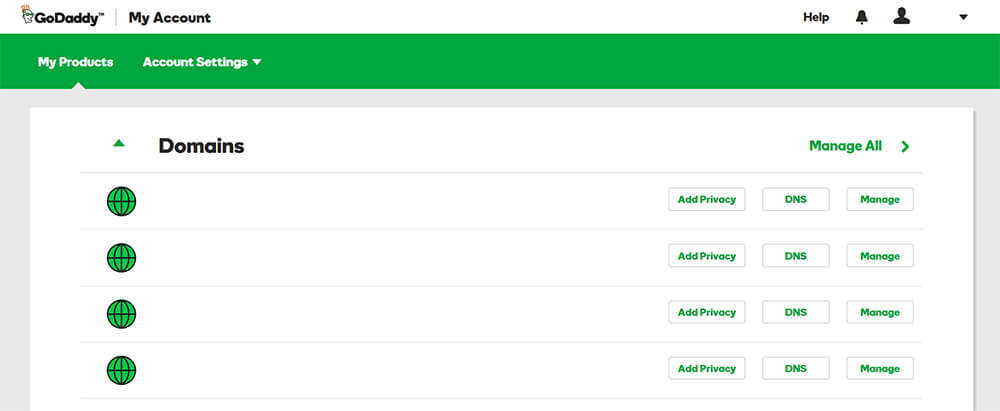
- Navigate to Domains >> My Domains.
- Select the domain you want to setup private nameservers for.
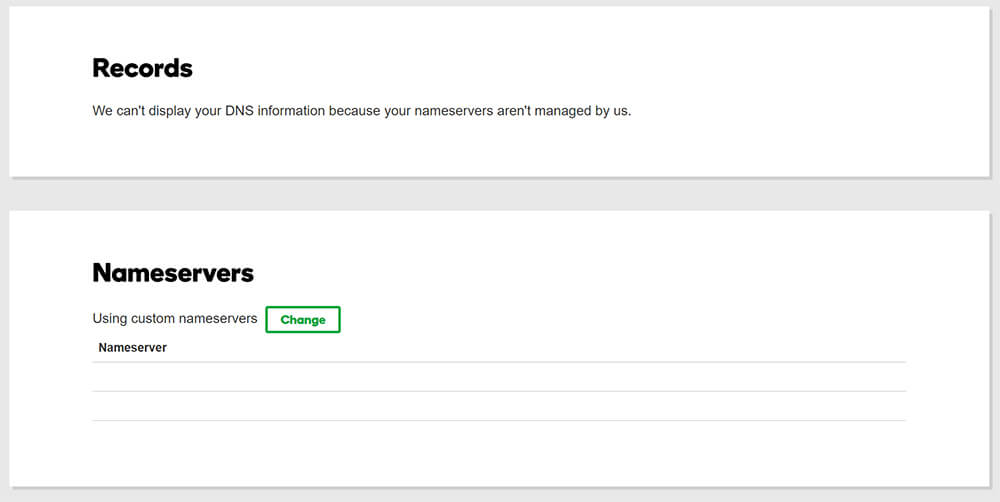
- Click ‘Add’ in the Host Summary section.
- For Host Name – enter “ns1.yourdomain.com” (without the quotation marks) in the box.
- For Host IP – enter your primary nameserver IP address.
- Click ‘Ok’ – Your primary private nameserver has been successfully created.
- Click ‘Add’ again in the Host Summary section.
- For Host Name – enter “ns2.yourdomain.com” (without the quotation marks) in the box.
- For Host IP 2 – enter the IP of your secondary nameserver.
- Click ‘Ok’.
Enom
- Go to the Enom account page.
- Using your username and password, log in to your Account Manager.
- From the upper menu, choose ‘Domains/Account Tools’. Next, click ‘Register a Nameserver’.
- Enter the full host name you wish to register in the Nameserver field (e.g., ns1.yourdomain.com).
- Enter the IP address of your primary nameserver in the IP Address field.
- Save your changes by clicking the ‘Submit’ button.
- Repeat from Step 4 to add your secondary nameserver with your IP address.
Network Solutions
- Go to the Network Solutions account page.
- Using your username and password, log in to your Account Manager.
- Click on the tab labelled ‘My Products & Services’.
- Select ‘My Domain Names’.
- Scroll down to the ‘More Domain Options’ section. Then, click on ‘Manage Name Servers’ icon.
- Enter the private nameserver you wish to create. Click ‘Go’.
- Enter the IP address for your new nameserver. Next, click ‘Go’.
- You will need to confirm and save your changes. Do this by clicking ‘Save Changes’ once you are satisfied with your changes.
- You will see a confirmation screen that will notify you that your changes have been saved.
Repeat from Step 3 to add your secondary nameserver with your IP address.