How to Install Joomla
Joomla is an award-winning content management system (CMS), which enables you to build Web sites and powerful online applications. Many aspects, including its ease-of-use and extensibility, have made it one of the most popular Web site software available. Best of all, this CMS is an open source solution that is freely available to everyone.
Installation of Joomla
-
- Depending on where you want to install the script, upload the archive to a document root of a domain or a subdirectory.
- Next, extract files in cPanel File Manager.
- Then, create a MySQL database for the installation.
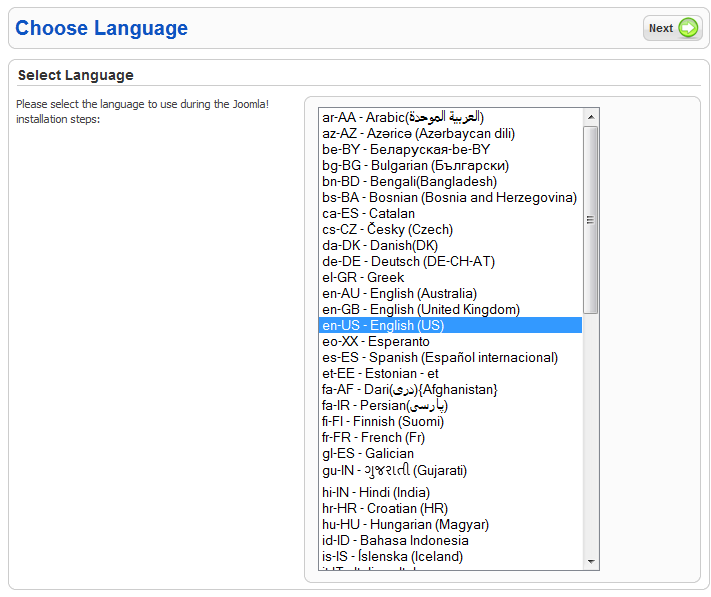
- Proceed to the newly uploaded files through the address bar in your browser:
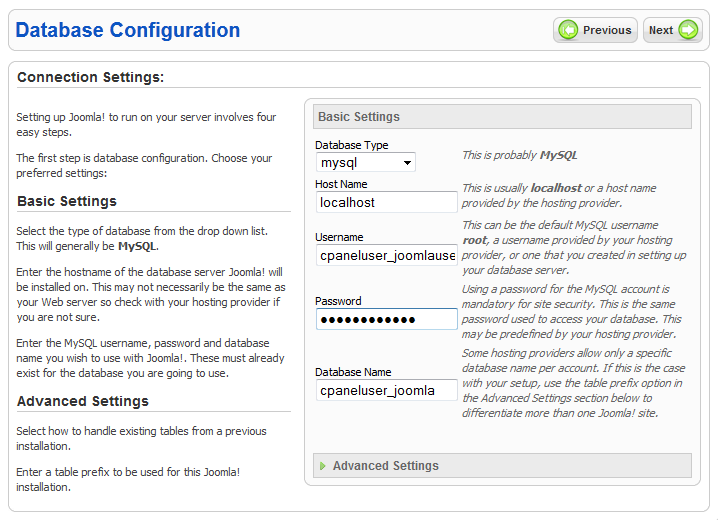
- Fill in the database name, username and password on the ‘Database Configuration’ page.
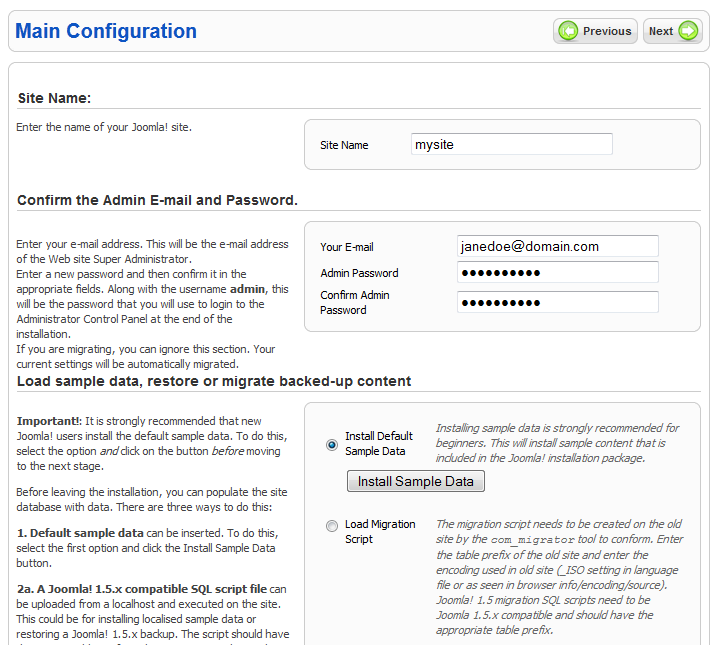
- Next, you will be asked to put a site name and admin access data on the ‘Main Configuration’ step.
- Select “Install Default Sample Data” for initial installation.
- Select “Load Migration Script” to load external content via migration script (for advanced users).
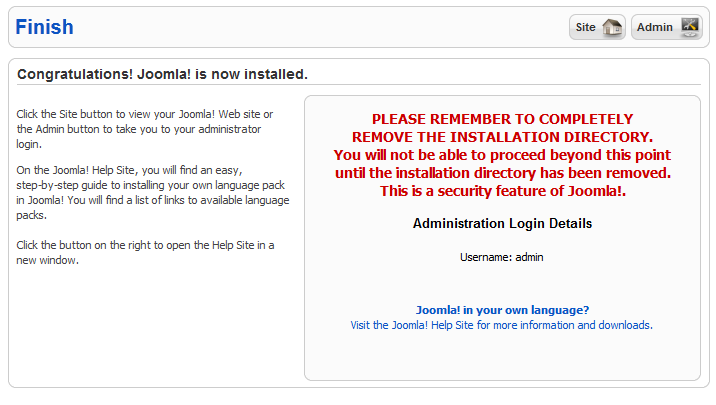
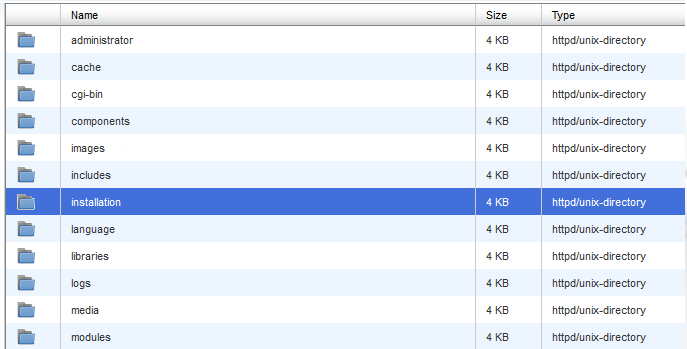
- After you have finished installing Joomla, make sure to remove ‘installation’ directory from the installation folder.
http:/mysite.com – Uploaded files to domain document root
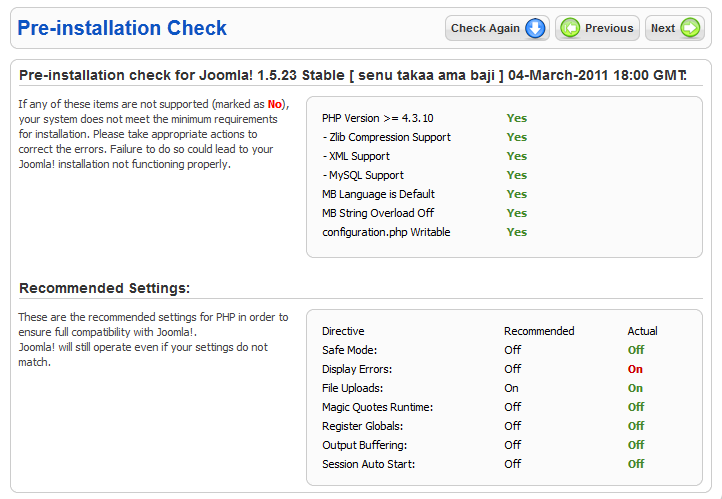
http://mysite.com/dir – Uploaded files to a sub-directoryFeel free to contact our Support Team if any of the above checks fail.
Username: admin
Password: use the one you’ve indicated on this stepYou can access the admin area via the URL: mysite.com/administrator.
Now you’re ready to modify your installation with the various extensions from the Joomla community.
Note: Keep in mind to make sure that your instance is up- to-date and to schedule file and database backups.

