How to Configure CoffeeCup Free FTP
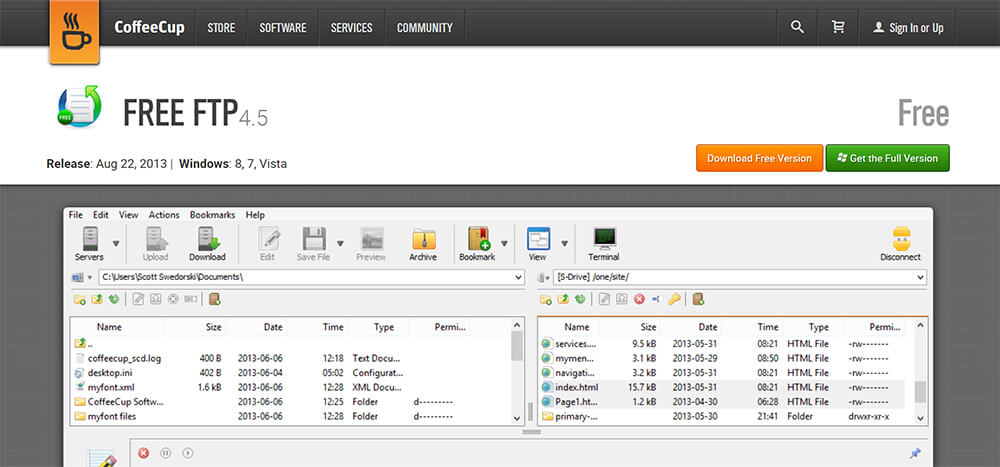
Aside from being a free FTP client, CoffeeCup Free FTP is a powerful, user-friendly, and intuitive software.
Navigate to:
File > Manage Servers
Next, click on the ‘+’ found on the bottom of the ‘My servers’ section.
Configure the FTP client using your account FTP settings. Make sure that the ‘Passive mode’ is enabled.

CoffeeCup Free FTP – add FTP server
Click ‘More Options’, set ‘Protocol’ to FTP and ‘Port’ to 21.

CoffeeCup Free FTP – FTP options
You can either leave ‘Local Folder’ and ‘Remote Folder’ empty, or point them to a necessary location on your PC and hosting account accordingly.
Remember that there must be no more than 2 ‘Connections’.
- Remote Folder: public_html – connect to your account main public directory. This is where all the content of your domain is located.
- Remote Folder: public_html/directory – connect to a directory of a sub- or add-on domain or any other directory under public_html.
Click ‘Ok’ when you are done.